


Heroku free tier was one of the best and most used for the deployment of backend apps. But the Heroku free tier ended last year.
If you want to host your static website for free, you can use netlify or even vercel, but when you want to deploy your backend app on a free platform, it is hard since the most popular place was Heroku.
In this article, I will show an alternative to Heroku. We will learn how to deploy a node express app to Railway which is free and also has an easy process to deploy your backend apps.
Let's start by creating a simple node and express server that we'll be deploying to the railway.
First, let's create the directories for our project
mkdir deploy-to-railway
cd deploy-to-railway
We can now initialize our app using npm init -y command like below and install our dependencies and create our entry file. We will not require a lot of dependencies since we are only deploying a simple node express app.
npm init -y
npm i express dotenv
touch index.js
At this point, our project should look like the diagram below.
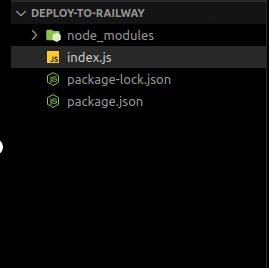
we can now open our index.js and write the code for our server.
const express = require("express");
const dotenv = require("dotenv");

dotenv.config();

const app = express();

const PORT = process.env.PORT || 9000;

app.get("/", (req,res)=> {
    res.send("Hello there! Api is working")
})

app.listen(PORT, () => console.log(`Sever is running port ${PORT} ...`));
Let's update our environmental variables and our scripts. in our .env file we can add the PORT variable and set it to 5000. In our package.json we can add a start script like below.
{
"start":"node index.js",
}
That's all we need. Open the terminal and write npm start. You should see, Server is running on port 5000.
We can push our code to GitHub and then continue with the deployment. we will not talk about pushing code to GitHub because we are not focusing on git and Git Hub. I hope you know how to push code to Git Hub.
Deploying to railway from GitHub repository
Now that all things are ready we can start the deployment process. if you don't have the repo you can use this GitHub repo.
Now let's head to Railway and log in to our account if you don't have an account you can signup for free.
Railway provides different login methods, we will use GitHub
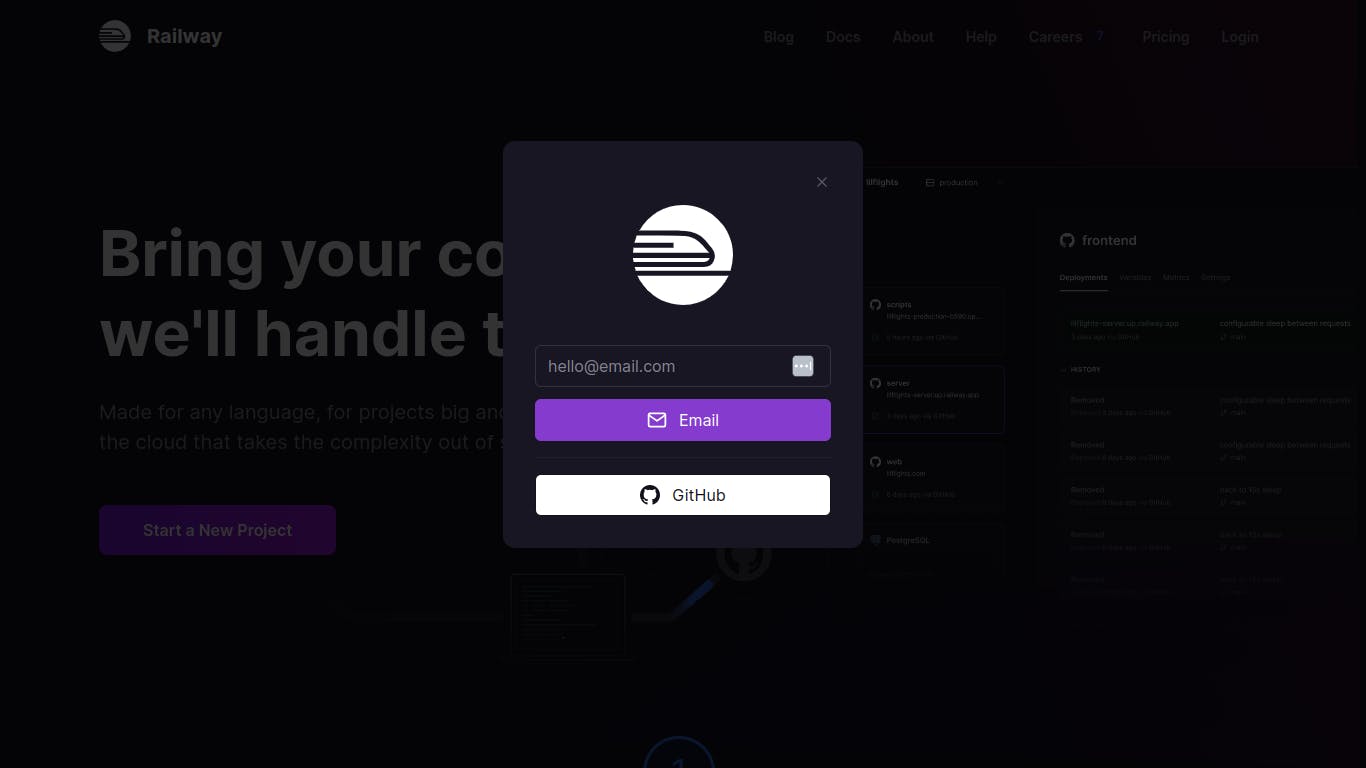
Once you have logged in you will be redirected to the dashboard below:
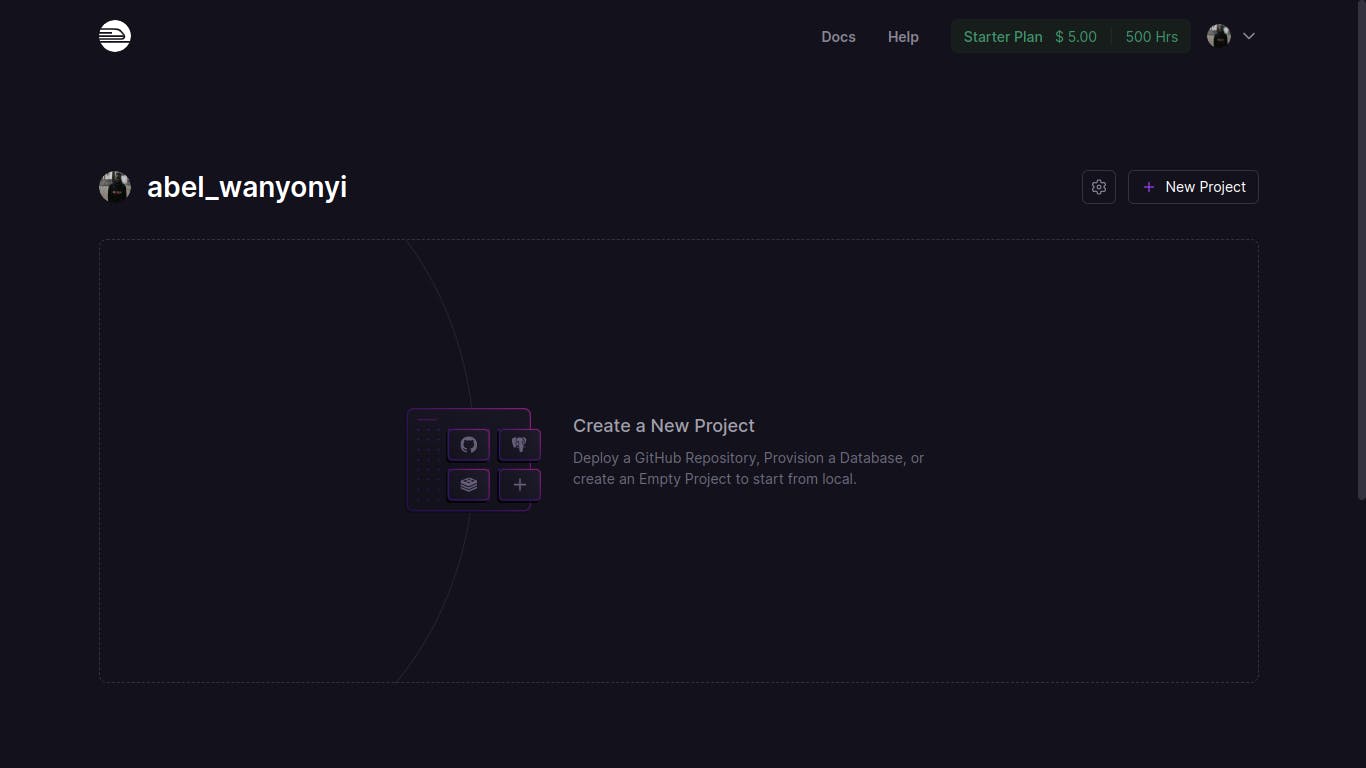
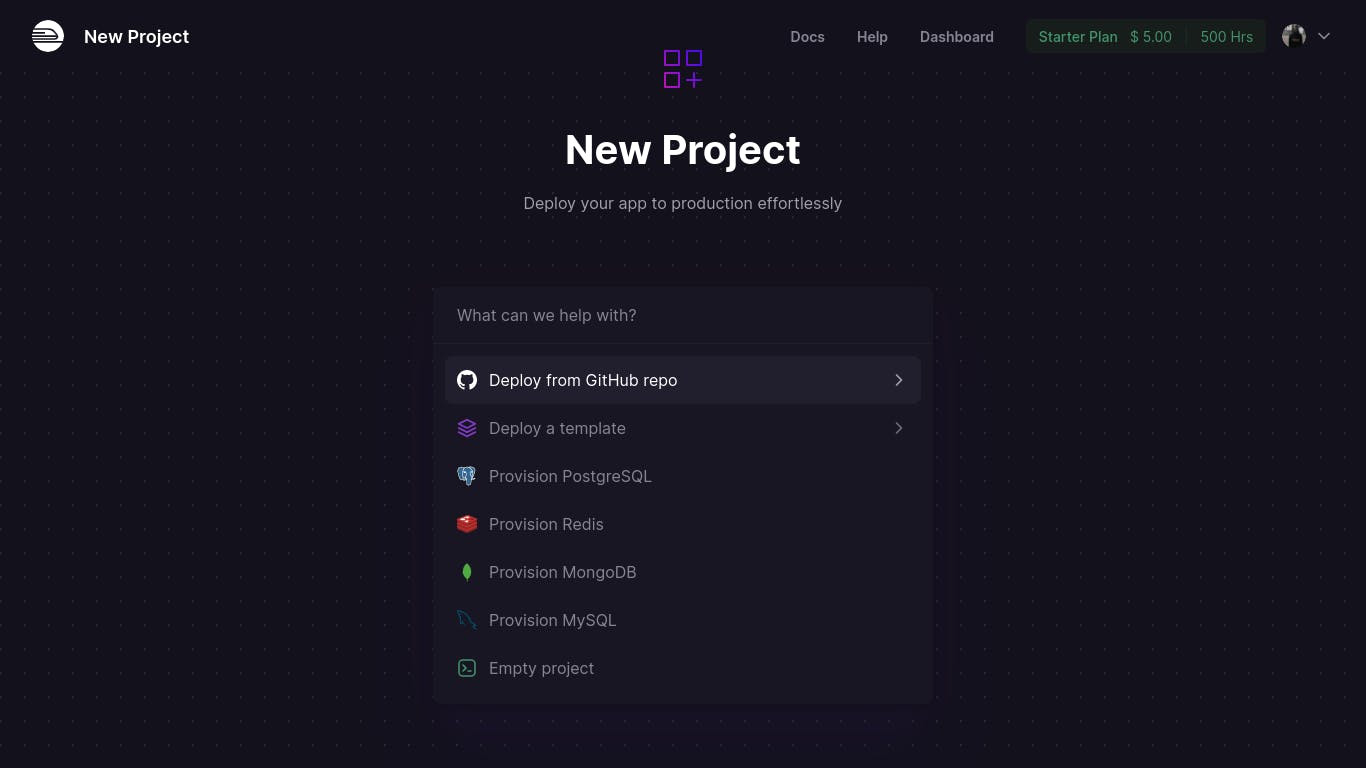
Select new project the button , Once you have clicked you will see the following screen.
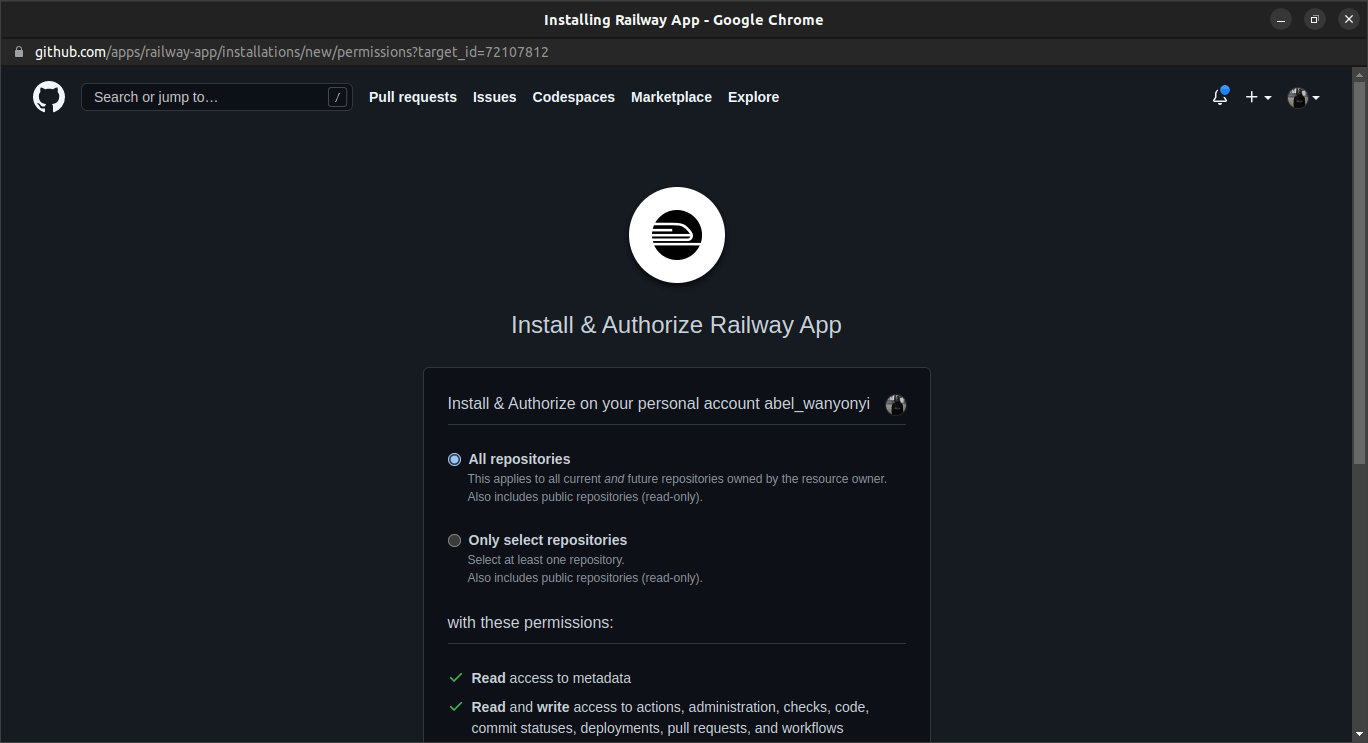
You will be asked to choose if you want to give railway permission to access all repos or only selected ones. Choose all repositories and click install railway so it can be installed to your GitHub and give access to railway.
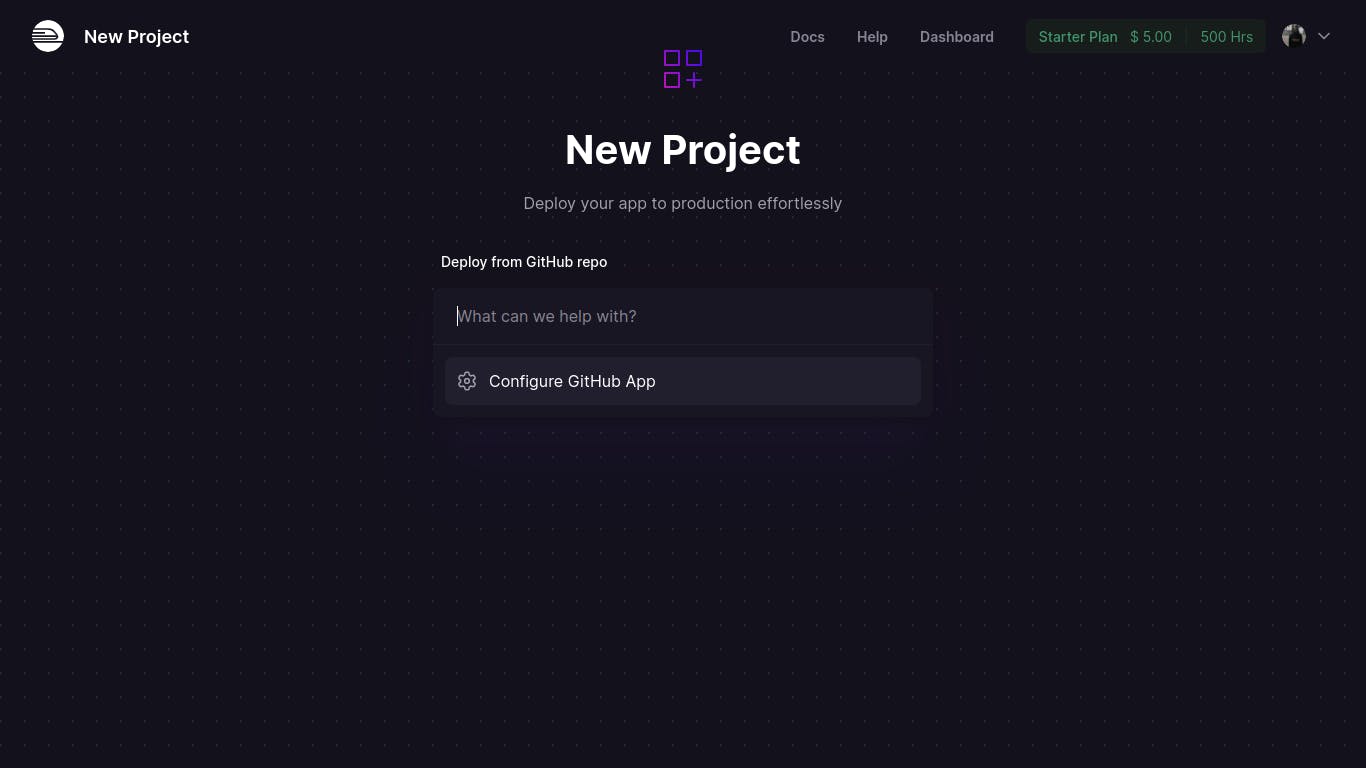
You will be redirected to the dashboard. Select deploy from GitHub repo like in the diagram below
You will be required to configure GitHub so ass to be able to see your repos like below
after you will see the following screen
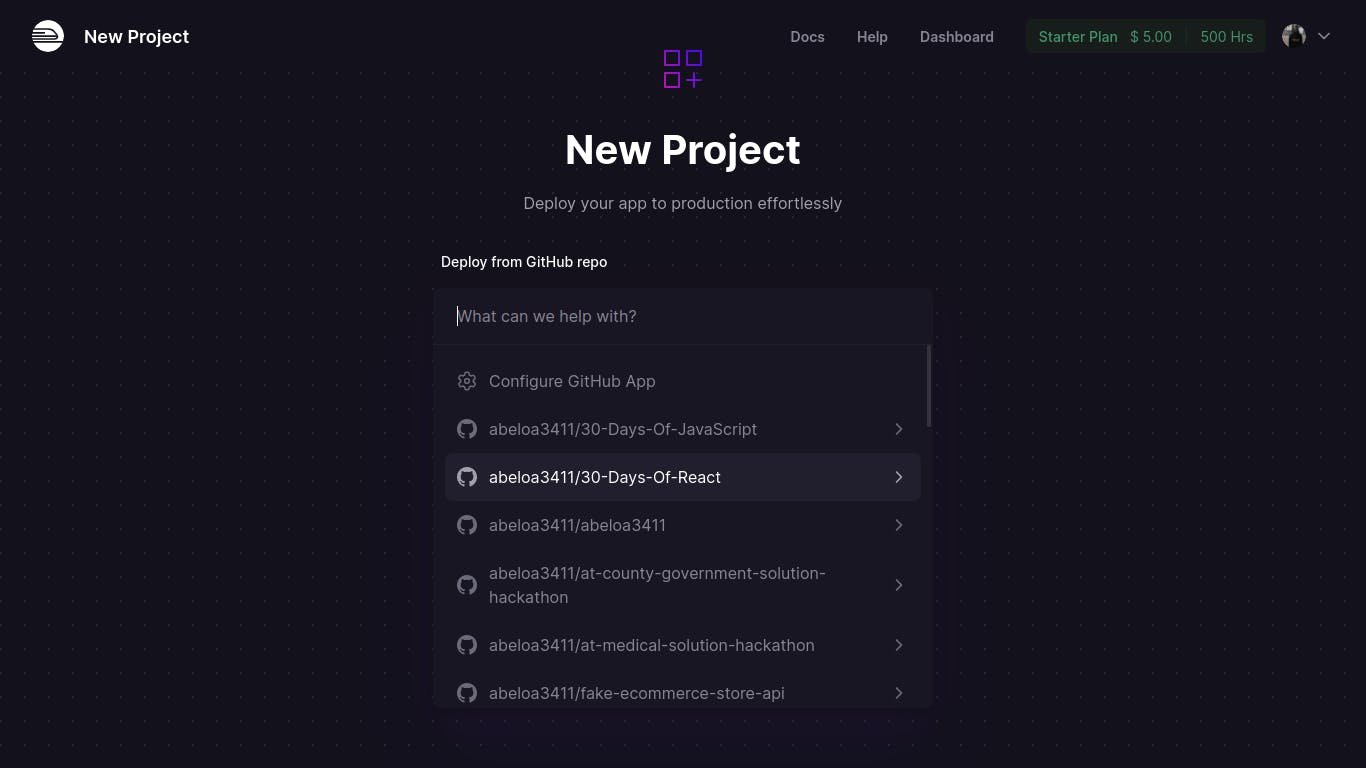
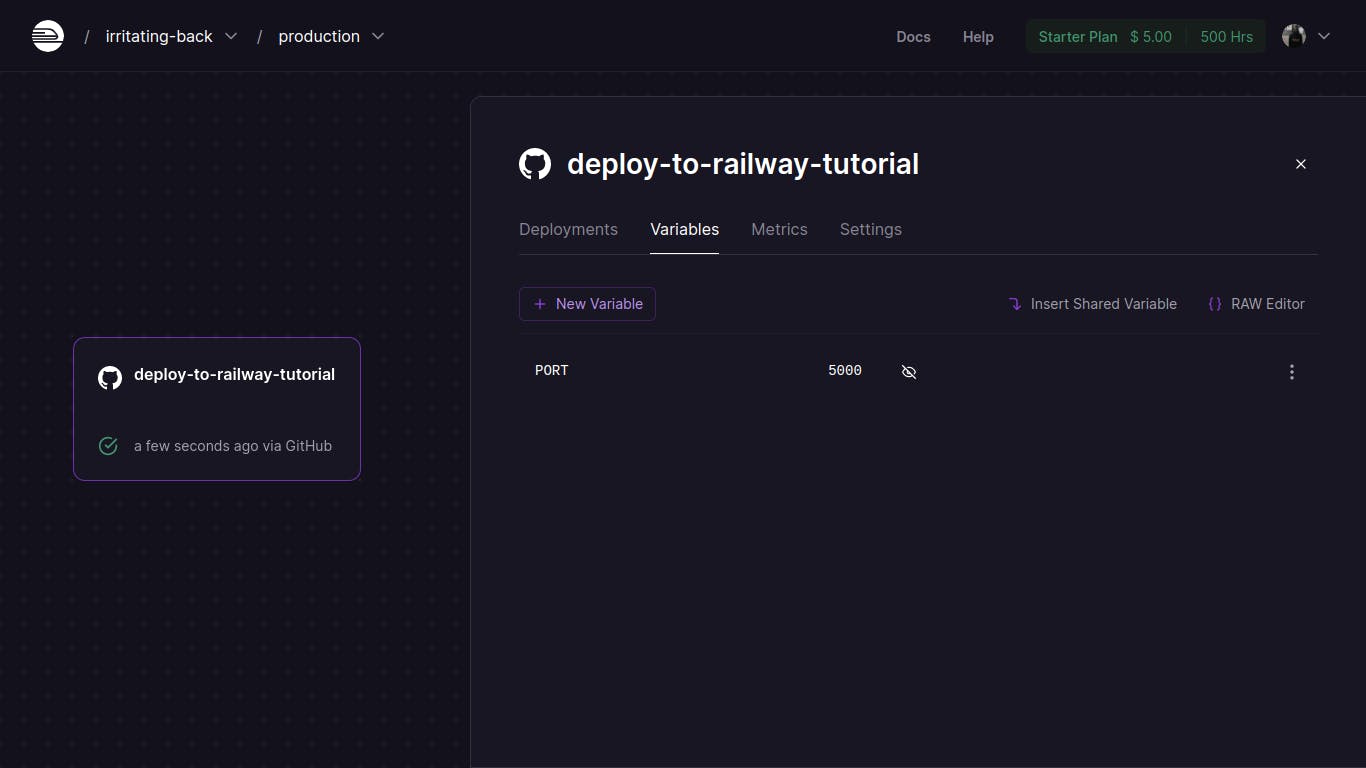
select the repo you want to deploy and before deploying add environmental variables, in our case we only have the port as the only environmental variable. Here is how to do it
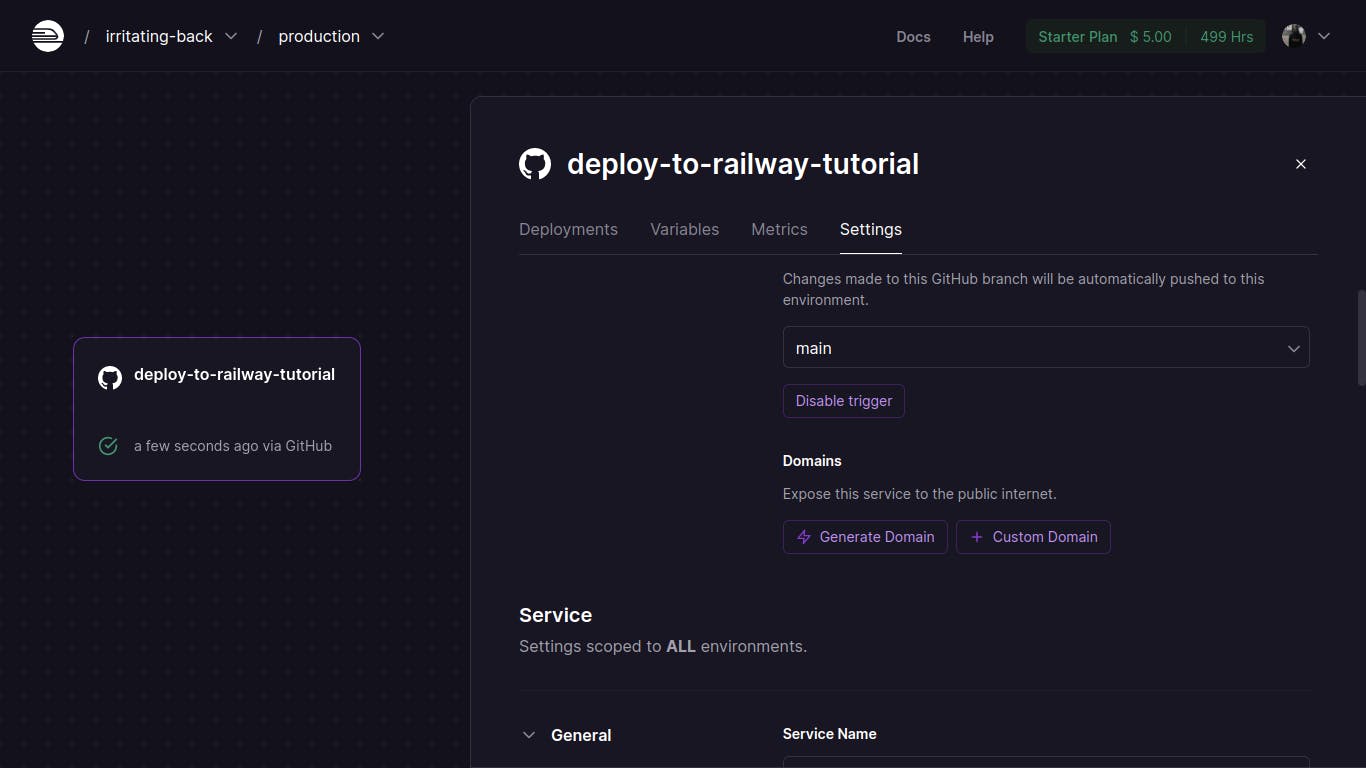
The final part is to generate a domain or you can use a custom domain if you have one. Click generate domain like below:
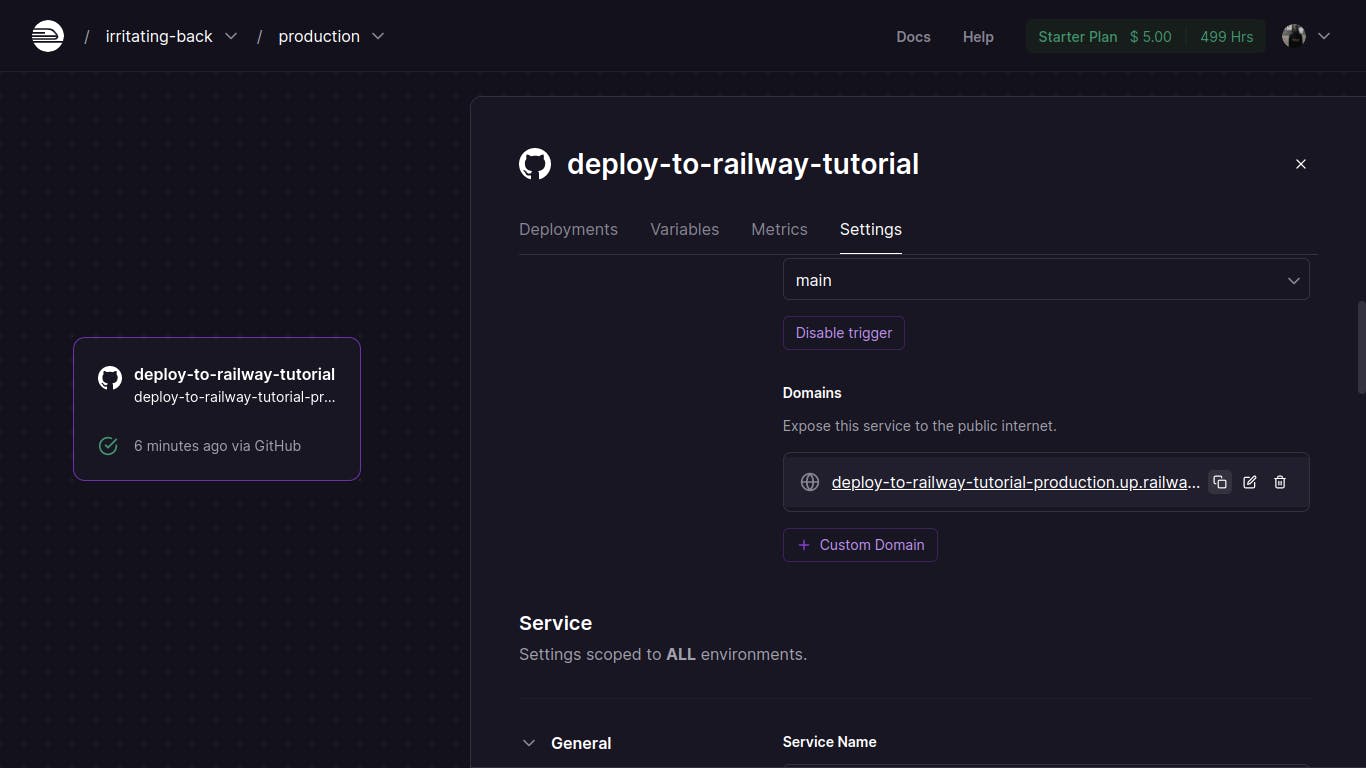
Your domain will be generated and your API will be exposed to the public. You will be given your domain. here is mine:
If you open the domain in the browser here is what you will see
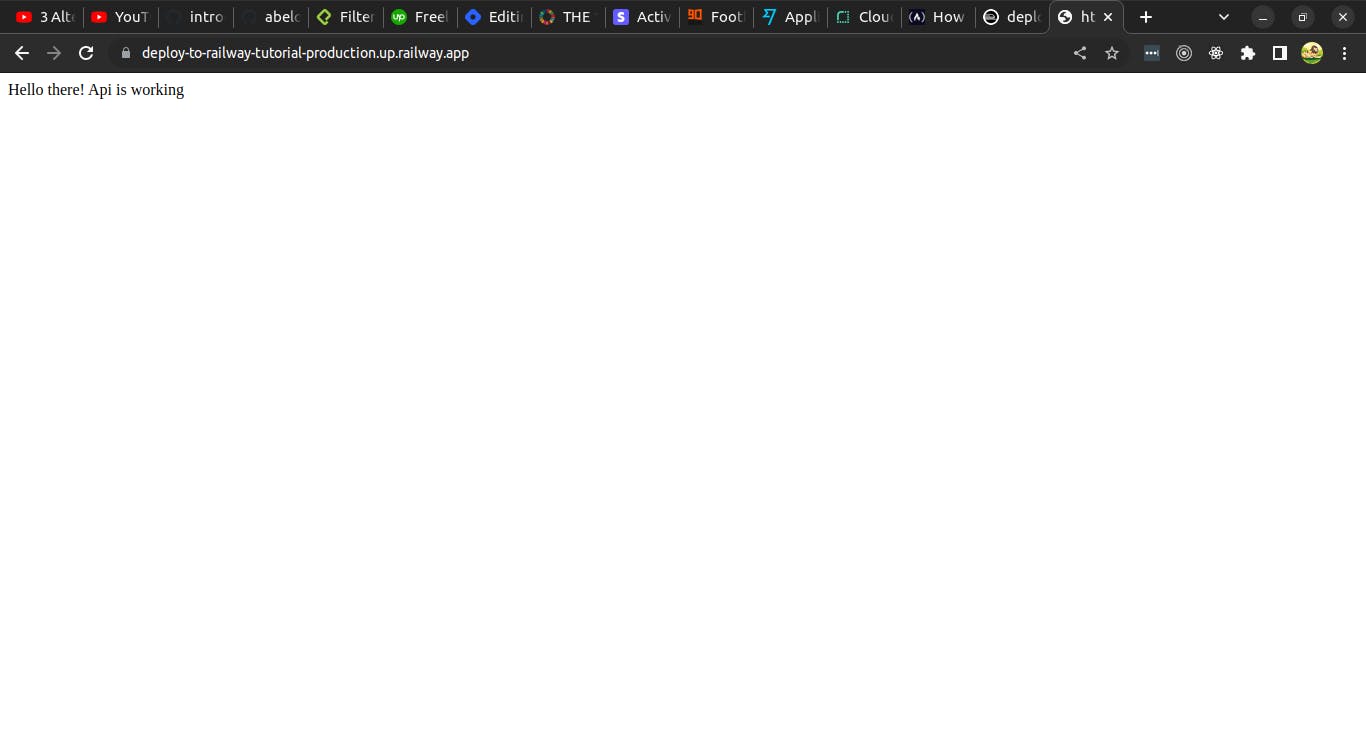
This means that we have successfully deployed our API to railway.
conclusions
You have seen how to deploy your backend apps to railway for free. It is an easy process. There are other places to deploy your backend apps like cyclic and render. try yourself to understand more. Thank you
references
railway.app